If you’re itching to garden but winter’s chill still lingers, fear not – indoor seed starting means you can get a jumpstart on the growing season anytime. Whether space is limited outdoors or you simply want an early harvest, cultivating starts from seed is simple with the right method. Consider this your step-by-step guide to seed starting success from the comfort of home. Follow these tips and you’ll be well on your way to lush transplants bursting with potential come springtime!
1: Assemble Supplies
Select a well-lit workbench and gather trays, cells or pots, seed starting mix, heat mat and mini greenhouse dome if sowing early. Acclimate seedlings gradually after germination. Precision tools like labels, tiny watering can and nail make neat transplanting easy success. Prep your setup for perfect plant care from the first sprinkle of seed.
2: Choose Crops Wisely
Research sowing schedules for veggies, herbs and flowers suitable for transplanting outdoors later. Fast germinators like lettuce, beans and radishes excel for beginners while tomatoes, peppers need practice. Mix in successive plantings for continuous harvests too. Confidence starts with accommodating varieties.
3: Read Seed Packets
Look for soil temperature and light requirements, as well as when to sow indoors versus directly outside. Pay attention to planting depth and spacing guidelines. Seeds sown too deep may rot while crowding courts leggy stems. Follow specs to ensure prompt, sturdy germination.
4. Prepare Seed Starting Mix
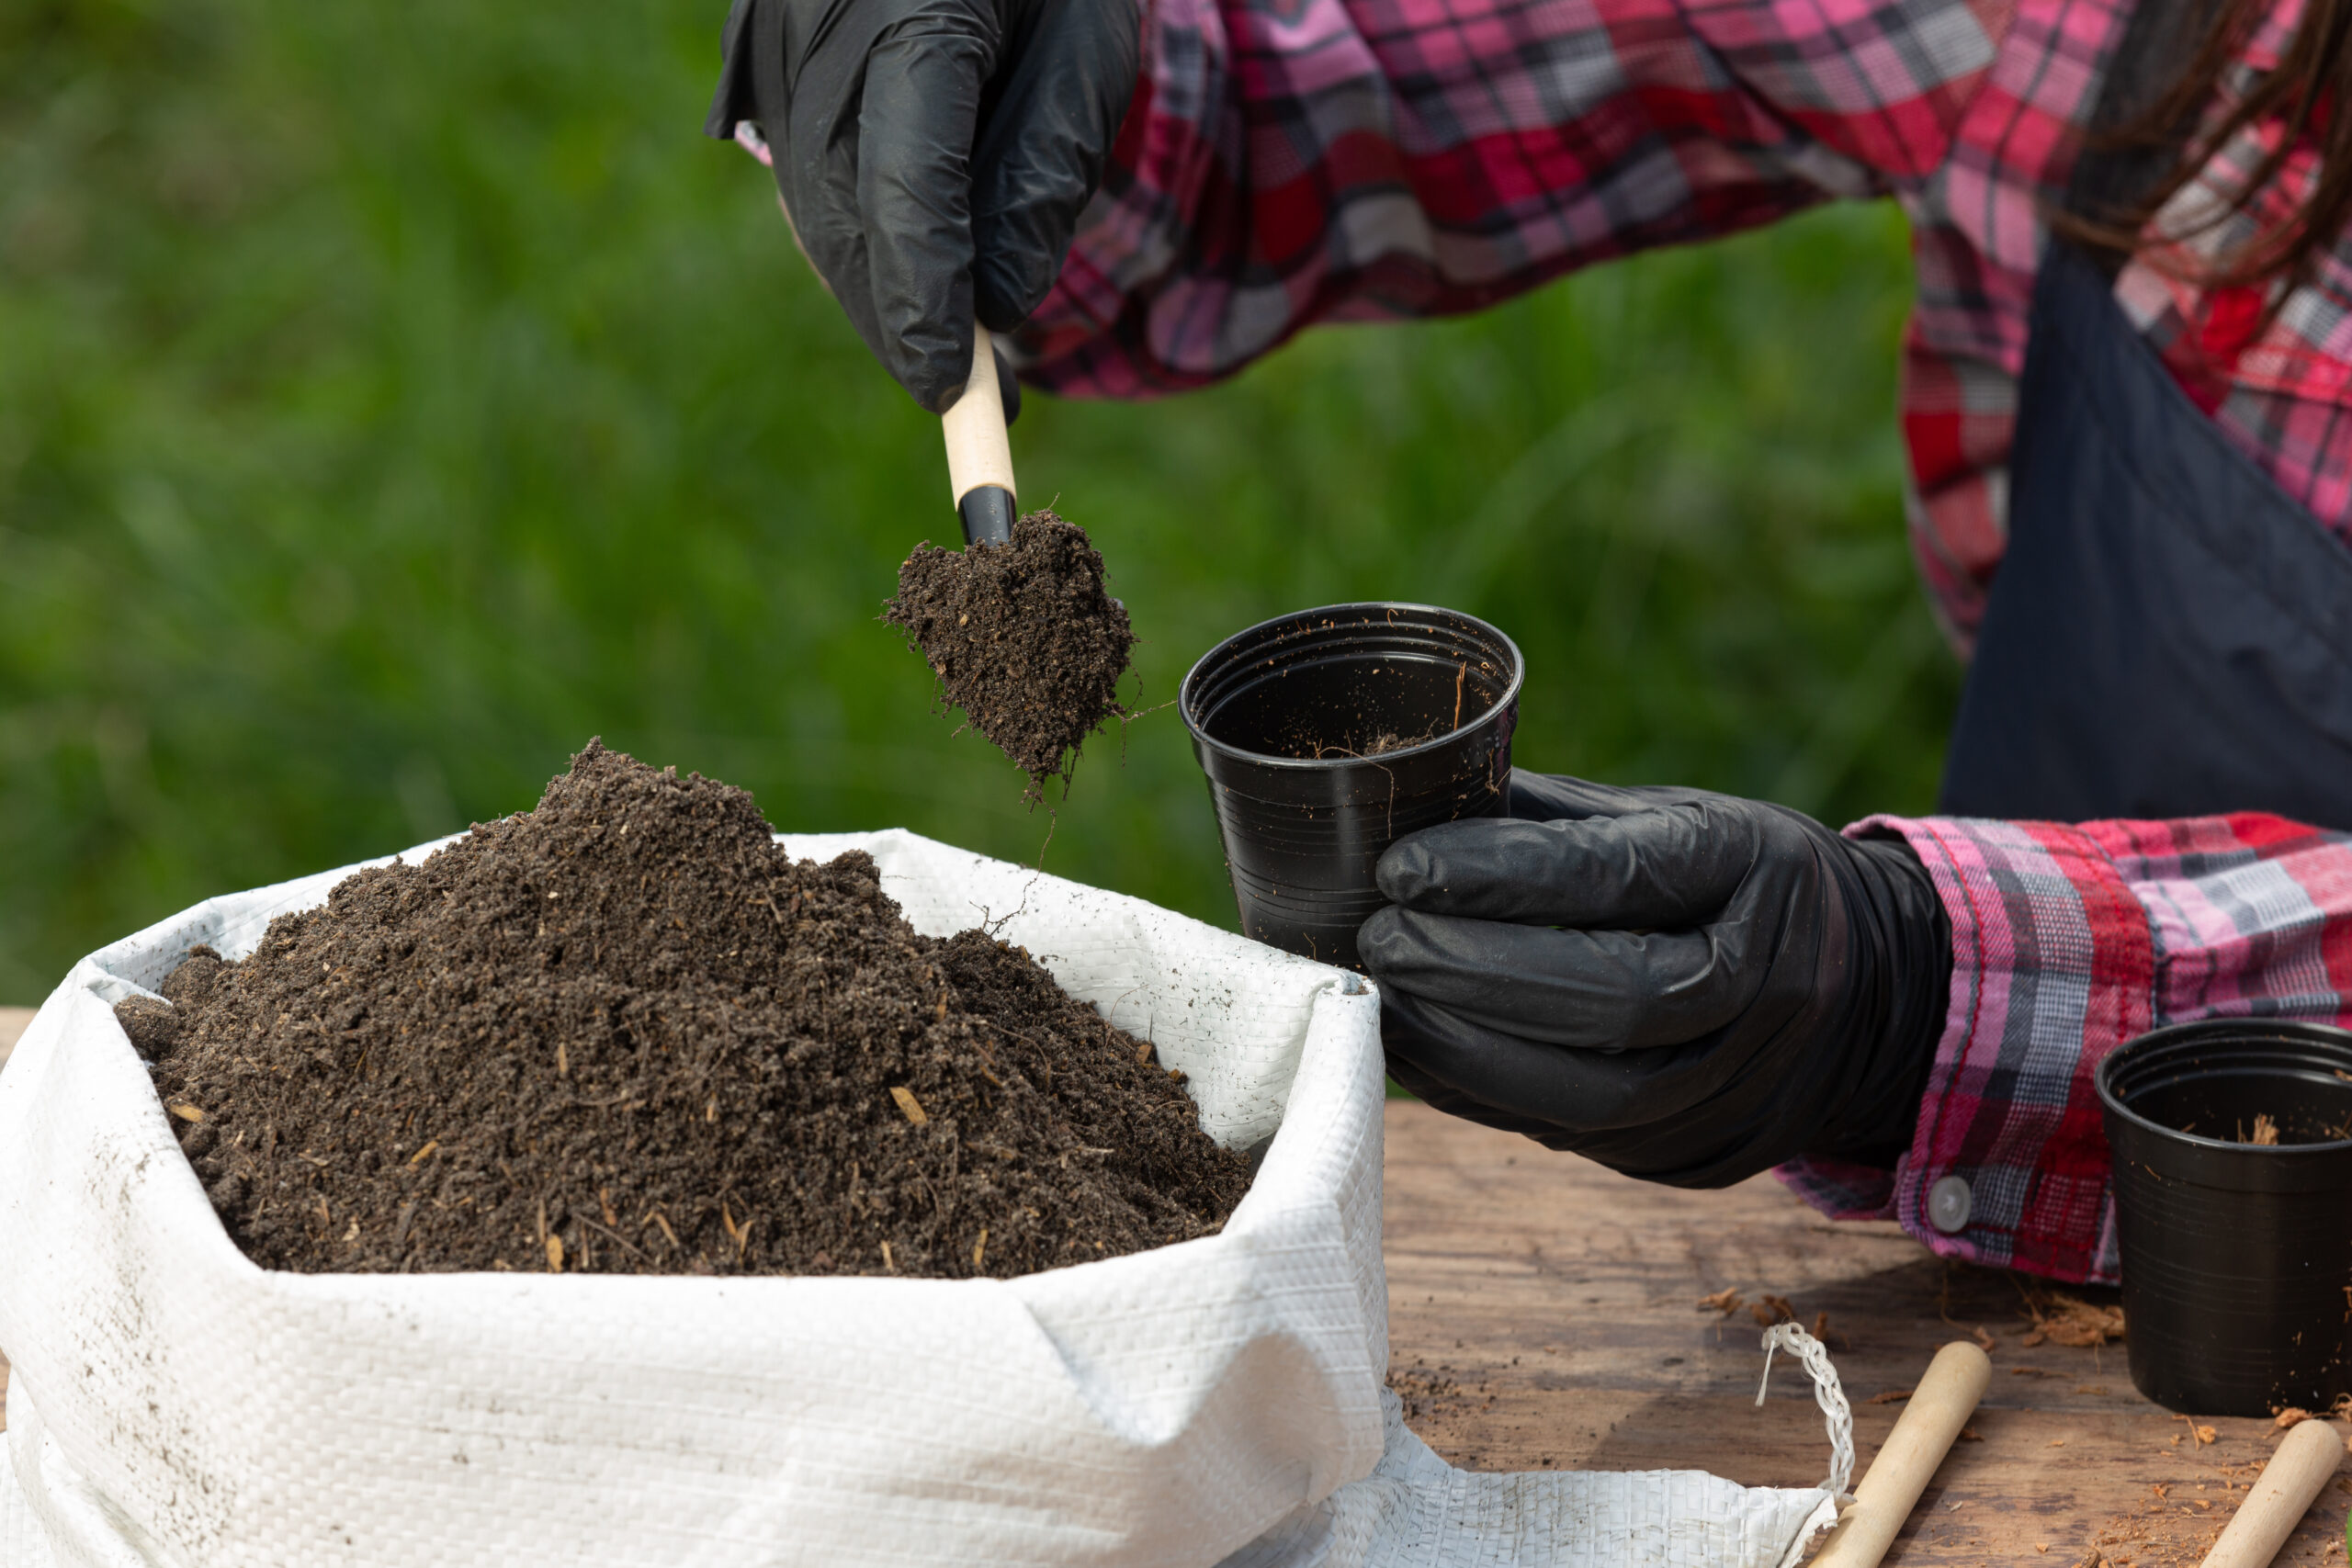
Avoid garden soil containing diseases, weed seeds or pests. Seed mixes drain well for delicate new roots while retaining moisture. Sterilize homemade blend in the oven or use sterile potting soil or compost. Moistened soil prevents crusting as seeds imbibe water. Hydration is key to speedy sprouting!
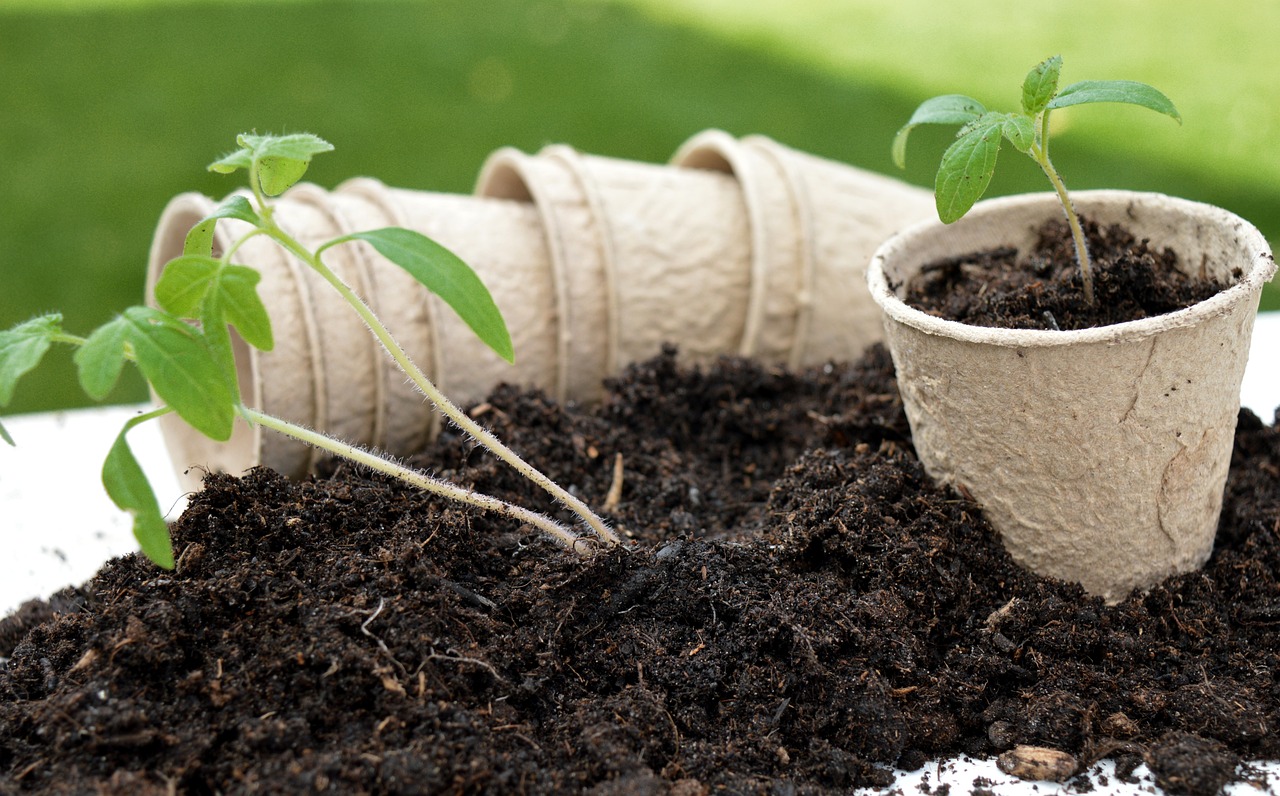
5. Sow Seeds Properly
Distribute seed starting mix evenly in trays or container cells. Scatter seeds atop surface and cover very lightly with more mix. Tamp gently then water with a fine mist to avoid displacement. Ideal sowing depth prevents drying out during germination, ensuring early success.
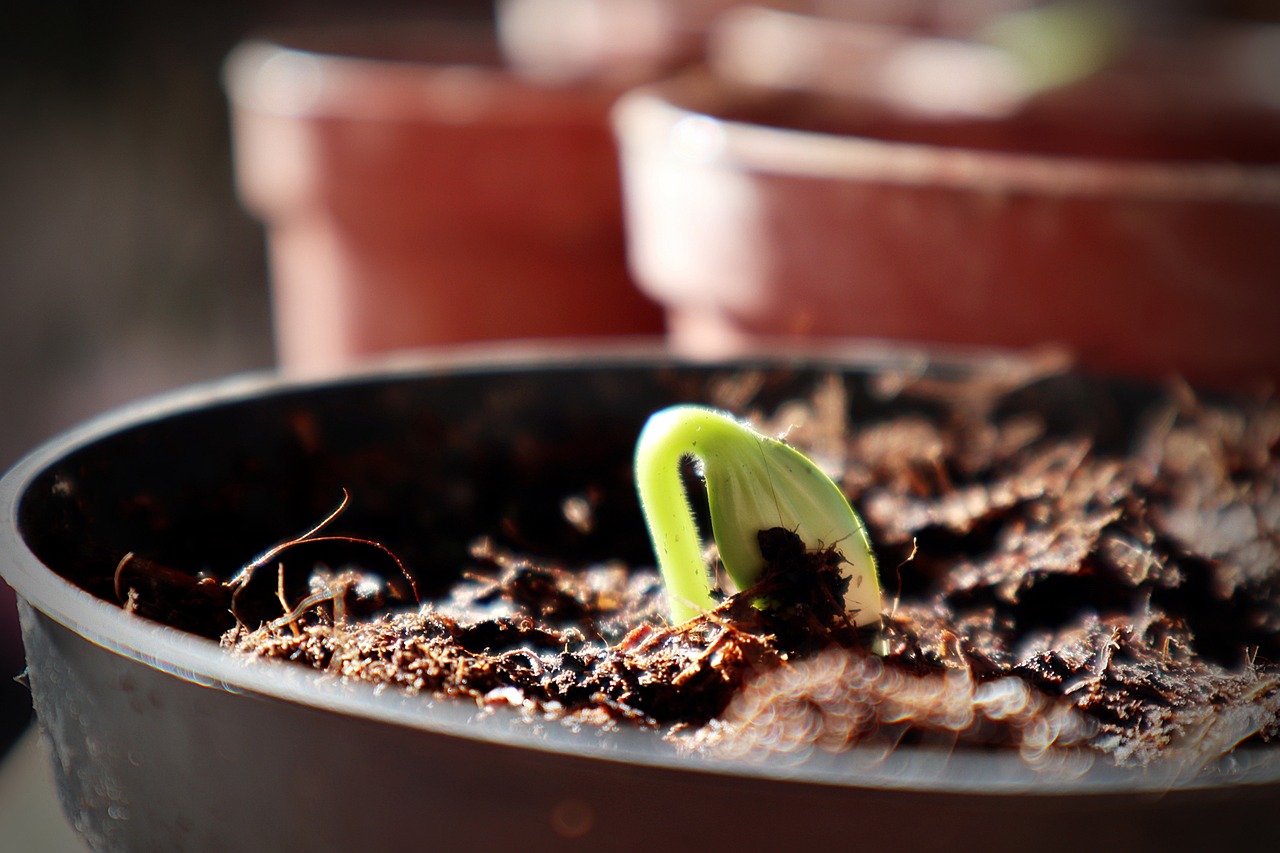
6. Provide Prime Conditions
Place trays in a warm spot around 70°F under grow lights or near south-facing window for 16+ hours of light per day. Use domes or plastic wrap as a mini greenhouse until sprouting commences. Maintain consistent moisture not to drown delicate shoots—the sooner they bust through, faster your garden grows!
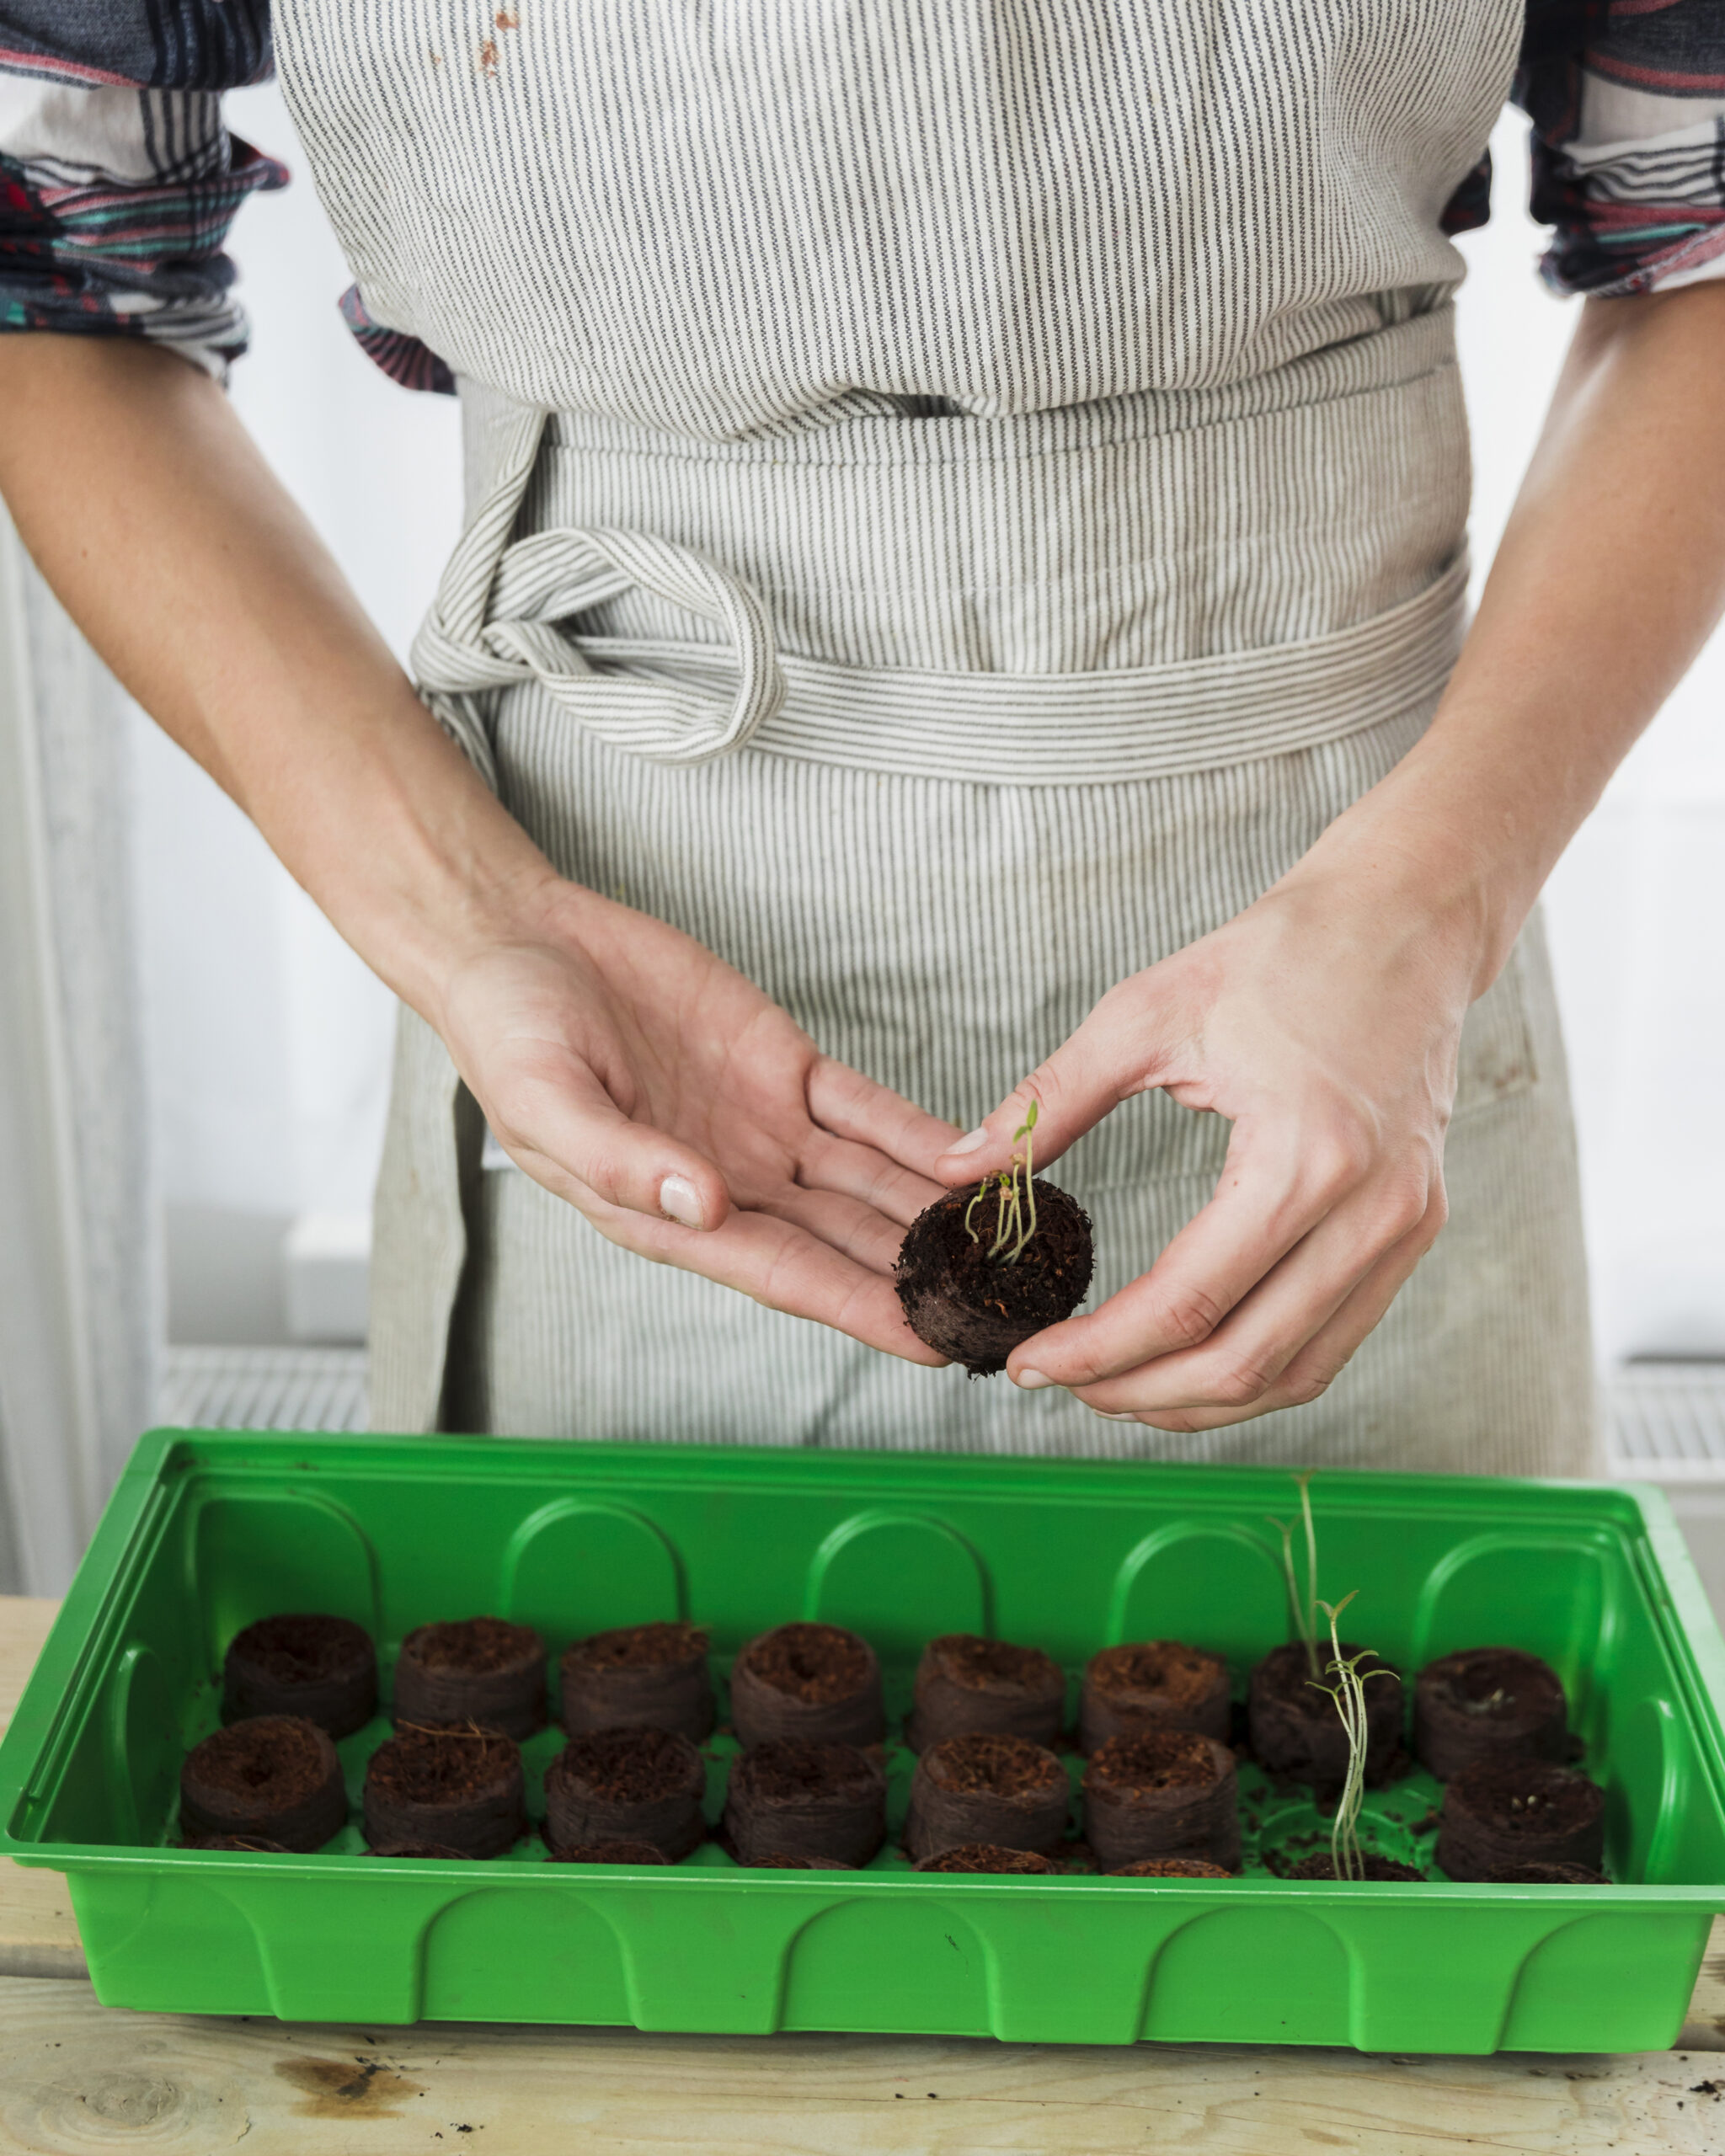
7. Monitor and Thin Seedlings
Check daily for sprouts, removing plastic or dome cover as needed for ventilation. Discard weak or defective seedlings when cotyledons emerge, leaving strongest plants an inch apart to establish robust root systems. This prevents etiolation and overcrowding later on.
8. Grow Greenhouse Tall
Routine watering and 18+ hours of cool fluorescent tubes or grow lights keep succulents starts growing straight and lush as leaves form. Once the true leaf stage commences, begin fertilizing weakly to turbocharge growth. Towering transplants translate to earlier harvests indeed!
9. Harden Off Hearty Plants
When ready for hardening, gradually expose seedlings to natural outdoor conditions starting with brief daily stints. This hardens stems and foliage before transplanting outside after danger of frost has passed. Your homegrown starts will now thrive where seeded direct was once impossible, sowing the rewards of an early garden season!
In conclusion, by following these foolproof indoor seed starting steps you’ll cultivate green thumbs galore. Come spring with robust transplants packed and primed full of potential, you’ll marvel at the power of some simple seeds, lighting and love. Your 6-step success plan has you growing like a pro in no time!