There’s something undeniably satisfying about growing your own food. It’s a small act of rebellion against the impersonal grocery store, a chance to witness the magic of transformation firsthand. And garlic, that pungent powerhouse of flavor, is surprisingly easy to cultivate from the humble clove. So, ditch the shrink-wrapped bulbs and get ready to transform your kitchen counter into a garlic haven!
This post may have affiliate links. This means that sometimes when you click a link on our site and make a purchase on Amazon, we may earn a small commission at no additional cost to you. We only recommend products we truly believe in, and your support helps keep us running!
Planting Powerhouse: Choosing the Right Garlic
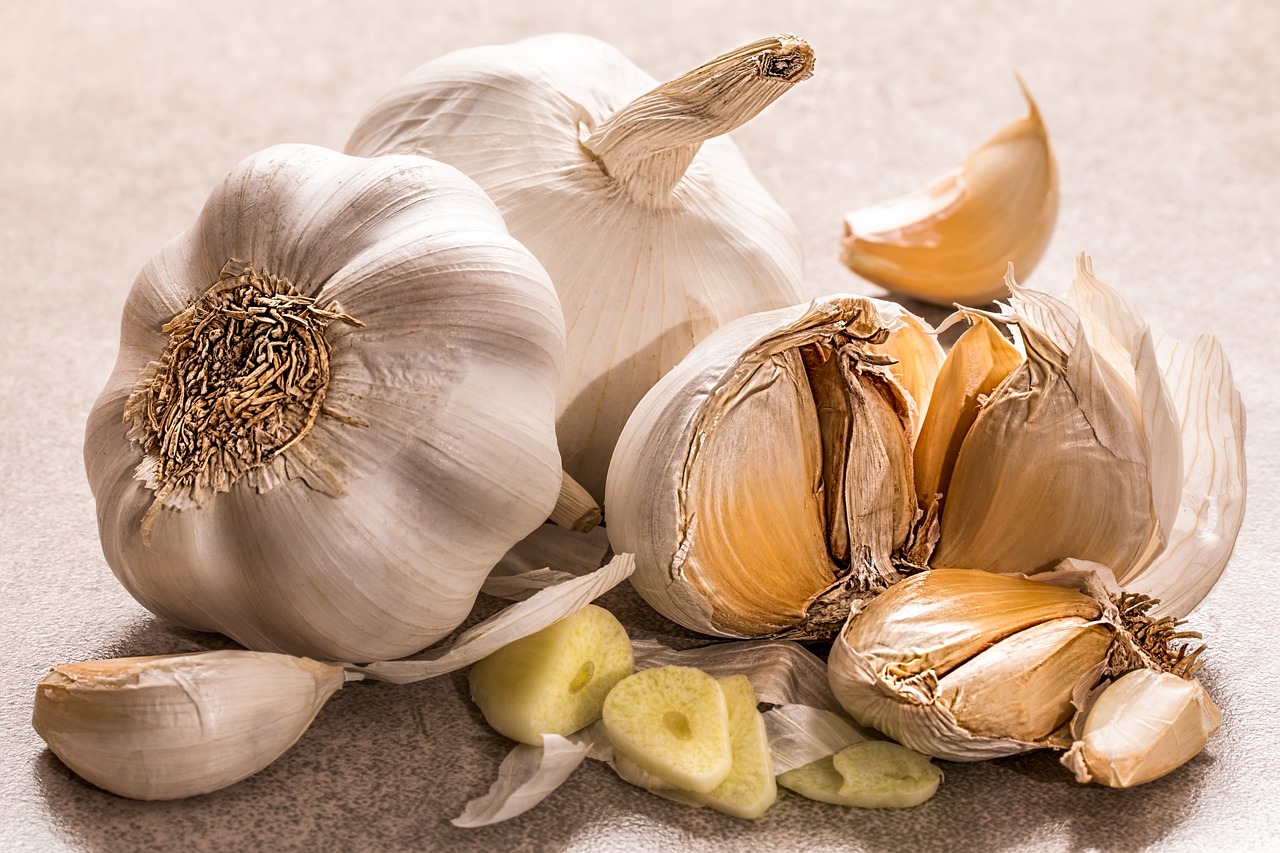
Before we delve into the nitty-gritty of planting, let’s talk garlic varieties. Did you know there are two main types: softneck and hardneck? Softneck garlic, the kind you typically find at the supermarket, produces a single large head with numerous tightly packed cloves. It’s great for storing, but not ideal for replanting – the cloves are smaller and less vigorous.
Hardneck garlic, on the other hand, is a party in a bulb! It boasts a single central stem surrounded by fewer, but larger, cloves. These varieties come in a wider range of flavors, from mellow to scorchingly hot, and the individual cloves are perfect for planting the next season’s crop.
Priming for Success: Preparing Your Garlic Patch
Now that you’ve got your garlic heroes, it’s time to prepare their battleground. Garlic thrives in loose, well-draining soil with plenty of organic matter. Here’s how to create a five-star garlic haven:
- Pick a Sunny Spot: Garlic is a sun worshiper, so choose a location that receives at least 6-8 hours of direct sunlight a day.
- Loosen Up the Soil: Break up compacted soil with a shovel or garden fork. Aim for a depth of at least 8 inches.
- Compost Power: Amend your soil with a generous helping of aged compost or composted manure. This will add nutrients and improve drainage.
- The pH Party: Garlic prefers slightly acidic soil with a pH between 6.0 and 6.8. A simple soil test kit will reveal your soil’s pH – if it’s outside the ideal range, you can adjust it with lime (to raise) or sulfur (to lower).
Top Tip: Planting in raised beds is a great option, especially if your native soil is heavy clay or lacks drainage.
Planting Prowess: From Clove to Contender
With your battleground prepped, it’s time to enlist your garlic soldiers! Here’s how to plant those cloves for maximum success:
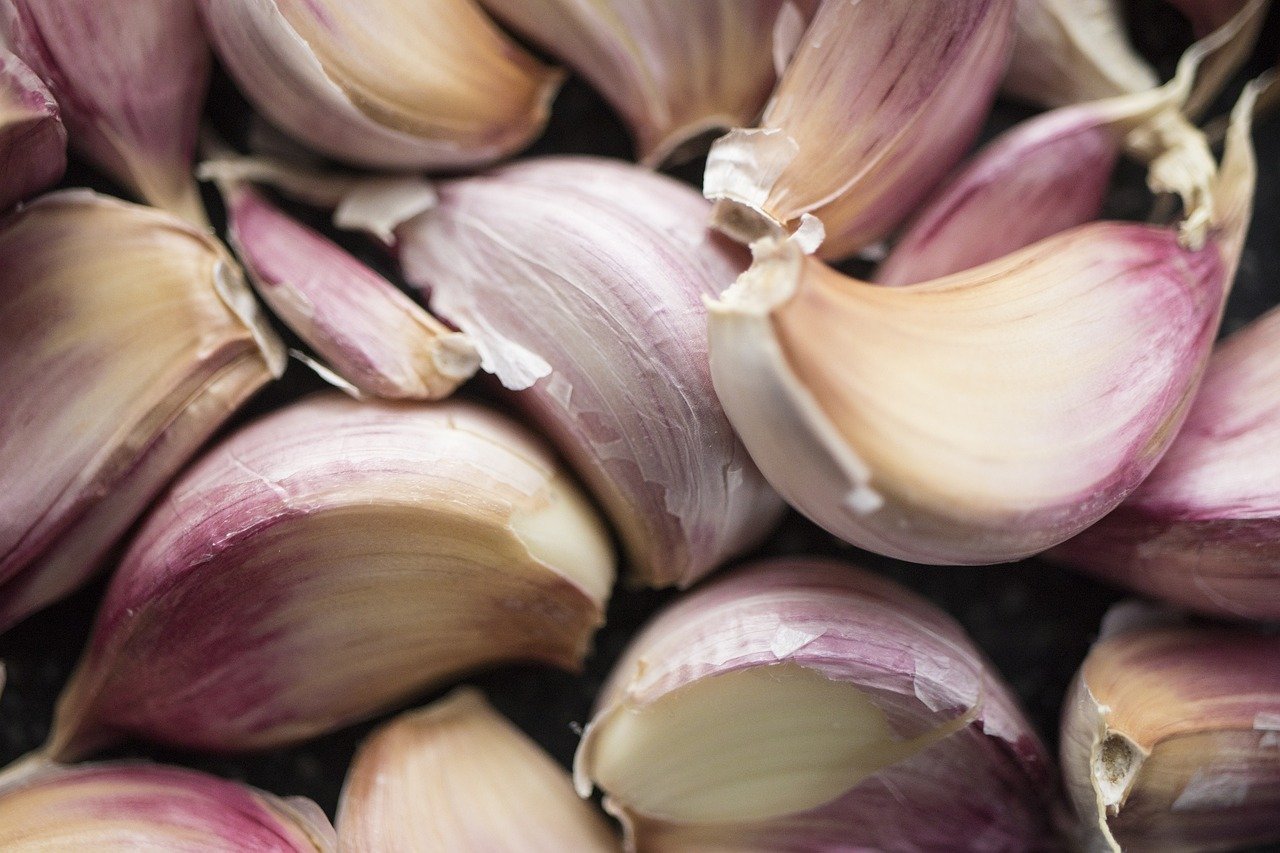
- Separate the Squad: Gently break apart the bulb into individual cloves, taking care not to damage the pointed end. Choose the largest, plumpest cloves for planting – they’ll produce the biggest bulbs.
- Planting Formation: Dig trenches about 2 inches deep and spaced 6 inches apart. Push each clove, pointed end facing upwards, into the trench, leaving about 4 inches between cloves.
- Tucking Them In: Cover the cloves with soil and gently firm it down. Water your newly planted garlic patch thoroughly.
Winter Warriors: In colder climates, plant your garlic in the fall, 6-8 weeks before the ground freezes. The cloves will develop a strong root system over winter and explode into growth come spring.
Spring Soldiers: For warmer climates, plant your garlic in the very early spring, as soon as the soil is workable.
Cultivating Champions: Garlic’s Journey to Greatness
Once your garlic is planted, the real fun begins! Here’s how to nurture your crop into fragrant champions:
- Watering Wisdom: Garlic needs consistent moisture, especially during its early stages of growth. Aim to water deeply once a week, allowing the soil to dry slightly between waterings.
- Weed Warriors: Keep pesky weeds at bay, as they compete with your garlic for water and nutrients. Hand-weeding is the most effective method, but a light layer of mulch around the base of the plants can help suppress weed growth.
- Winter Watch (For Fall Planters): In colder climates, protect your fall-planted garlic with a layer of mulch (straw, leaves, etc.) before the ground freezes. This will insulate the cloves and prevent them from heaving out of the soil during freeze-thaw cycles.
Garlic Grub Alert
Unfortunately, there are a couple of pesky critters that can munch on your garlic bounty. Keep an eye out for:
- Cutworms: These grey or brown caterpillars sever garlic stems at ground level. Look for ragged leaf edges and wilting plants. Handpick and destroy cutworms, or create a protective collar around your plants using cardboard tubes or recycled plastic containers.
- Wireworms: These slender, hard-bodied worms burrow through the soil and damage garlic roots and bulbs. Unfortunately, there’s no easy solution for wireworms. Crop rotation and beneficial nematodes can help reduce their populations over time.
Bonus Tip: Planting companion plants like marigolds or nasturtiums can help deter some pests and attract beneficial insects to your garlic patch.
The Big Reveal: Harvesting and Storing Your Garlic Bounty
Patience, young Padawan! Garlic takes its sweet time to mature, anywhere from 4-8 months depending on the variety and planting time. Here’s how to know when your garlic is ready to be harvested:
- Leaf Talk: The lower leaves of your garlic plant will begin to yellow and die back as the bulb matures. When about half of the leaves have turned brown, it’s harvest time!
- The Bulb Test: Carefully dig up a plant and examine the bulb. If the cloves are firm and the outer skin is papery, your garlic is ready.
Unearthing the Treasure:
- Gently loosen the soil around the garlic plant with a garden fork. Be careful not to damage the bulb.
- Lift the plant carefully and brush off any excess soil.
Drying and Curing:
- Don’t wash your garlic – this can promote rot. Instead, let the bulbs air dry in a cool, well-ventilated area out of direct sunlight for a few weeks.
- Trim the roots to about ½ inch and remove most of the stem, leaving about 1 inch attached to the bulb.
- Separate the heads into individual cloves, leaving the papery skin intact.
Storing Your Garlic Gems:
Once your garlic is cured, it’s time to find it a cozy home for the winter. Here are some tips for optimal storage:
- Choose a Cool, Dry Spot: Aim for a location with good air circulation and temperatures between 60-65°F (15-18°C). A well-ventilated pantry, basement, or garage are all good options.
- Breathable Basket: Store your garlic in a loose-weave basket or mesh bag to allow for air circulation and prevent moisture build-up.
- Not So Close Neighbors: Don’t store your garlic near potatoes or onions, as they emit ethylene gas which can accelerate spoilage.
With proper storage, your homegrown garlic can last for several months, rewarding you with its pungent flavor throughout the winter.