Have you ever marveled at the plump cloves of garlic nestled in the supermarket produce section and wished you could cultivate your own garlicky bounty? Well, fear not, fellow foodie! Growing garlic indoors in containers is an achievable feat, transforming your windowsill into a miniature garlic grove. This comprehensive guide will equip you with the knowledge and steps to cultivate this pungent prize, even if you lack a sprawling backyard.
This post may have affiliate links. This means that sometimes when you click a link on our site and make a purchase on Amazon, we may earn a small commission at no additional cost to you. We only recommend products we truly believe in, and your support helps keep us running!
The Allure of Indoor Garlic
Beyond the satisfaction of nurturing your own food source, there are several advantages to growing garlic indoors. Firstly, it’s a space-saving option, ideal for urban dwellers with limited outdoor real estate.
Secondly, you gain complete control over the growing environment, ensuring your garlic thrives without exposure to harsh weather or pesky pests.
Thirdly, indoor-grown garlic boasts exceptional freshness, its flavor unmatched by store-bought bulbs that have traveled long distances. Finally, witnessing the journey from a humble clove to a vibrant plant is a uniquely rewarding experience.
Choosing Your Garlic Warriors
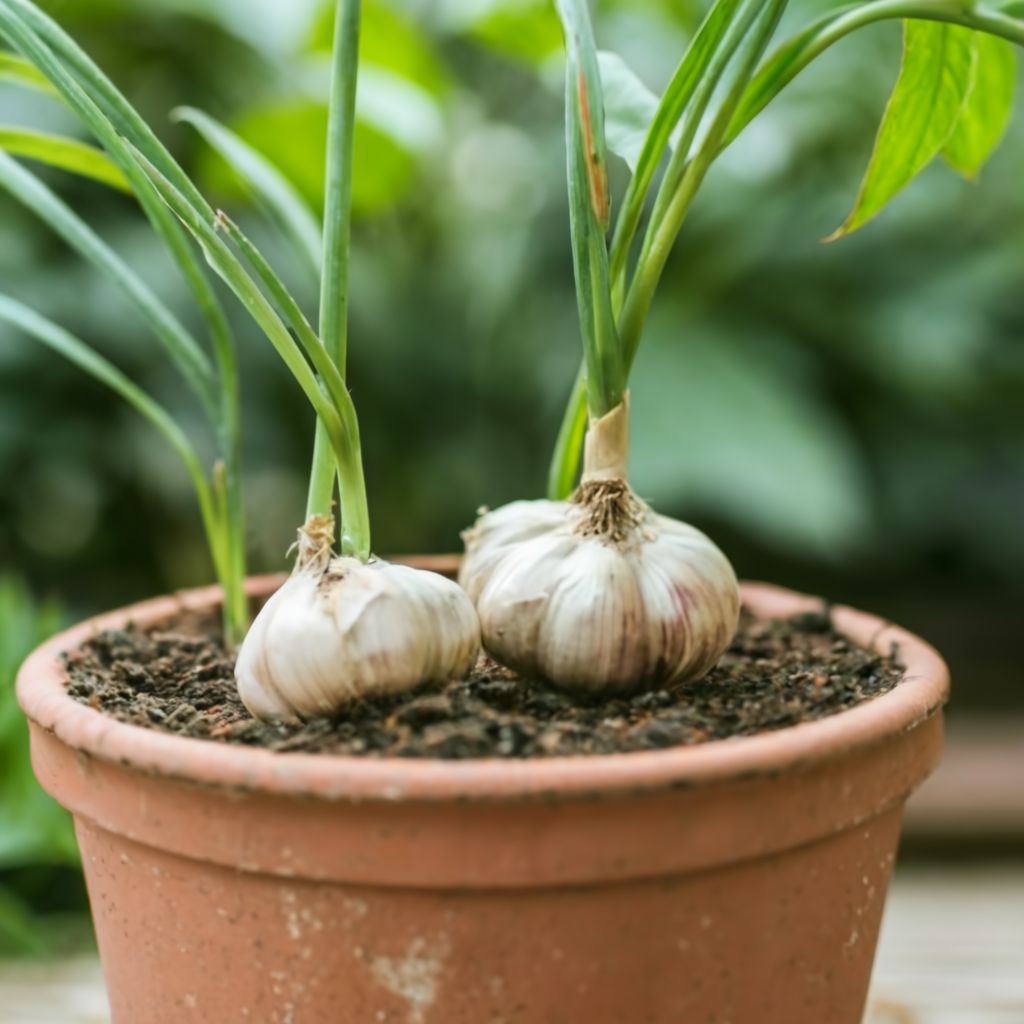
The first step on your garlicky adventure is selecting the right troops. Unlike its supermarket counterpart, which is often treated to inhibit sprouting, you’ll need to seek out non-chemically treated garlic for planting. Look for organic garlic bulbs at your local farmer’s market or gardening store. When choosing your garlic gladiators, opt for firm, healthy bulbs with large, unblemished cloves. Separate the cloves from the bulb carefully, ensuring each clove boasts a pointed tip, the business end from which your verdant garlic shoots will emerge.
Creating the Perfect Garlic Habitat
Selecting the Ideal Container
Your garlic’s future palace should be a container with a minimum depth of 8 inches. Opt for a pot crafted from breathable material like terracotta or ceramic, as these promote healthy drainage. Drainage holes are crucial to prevent waterlogging, the sworn enemy of thriving garlic. If your chosen container lacks drainage, consider drilling a few holes at the bottom yourself.
Soil – The Foundation of Garlicky Goodness
For your garlic to flourish, it craves a well-draining, aerated potting mix. Look for a commercially available potting mix specifically formulated for vegetables or herbs. Amending your chosen mix with an equal part of perlite or coarse sand can further enhance drainage.
Planting Your Garlic for Success
Planting Time – Let the Garlic Games Begin!
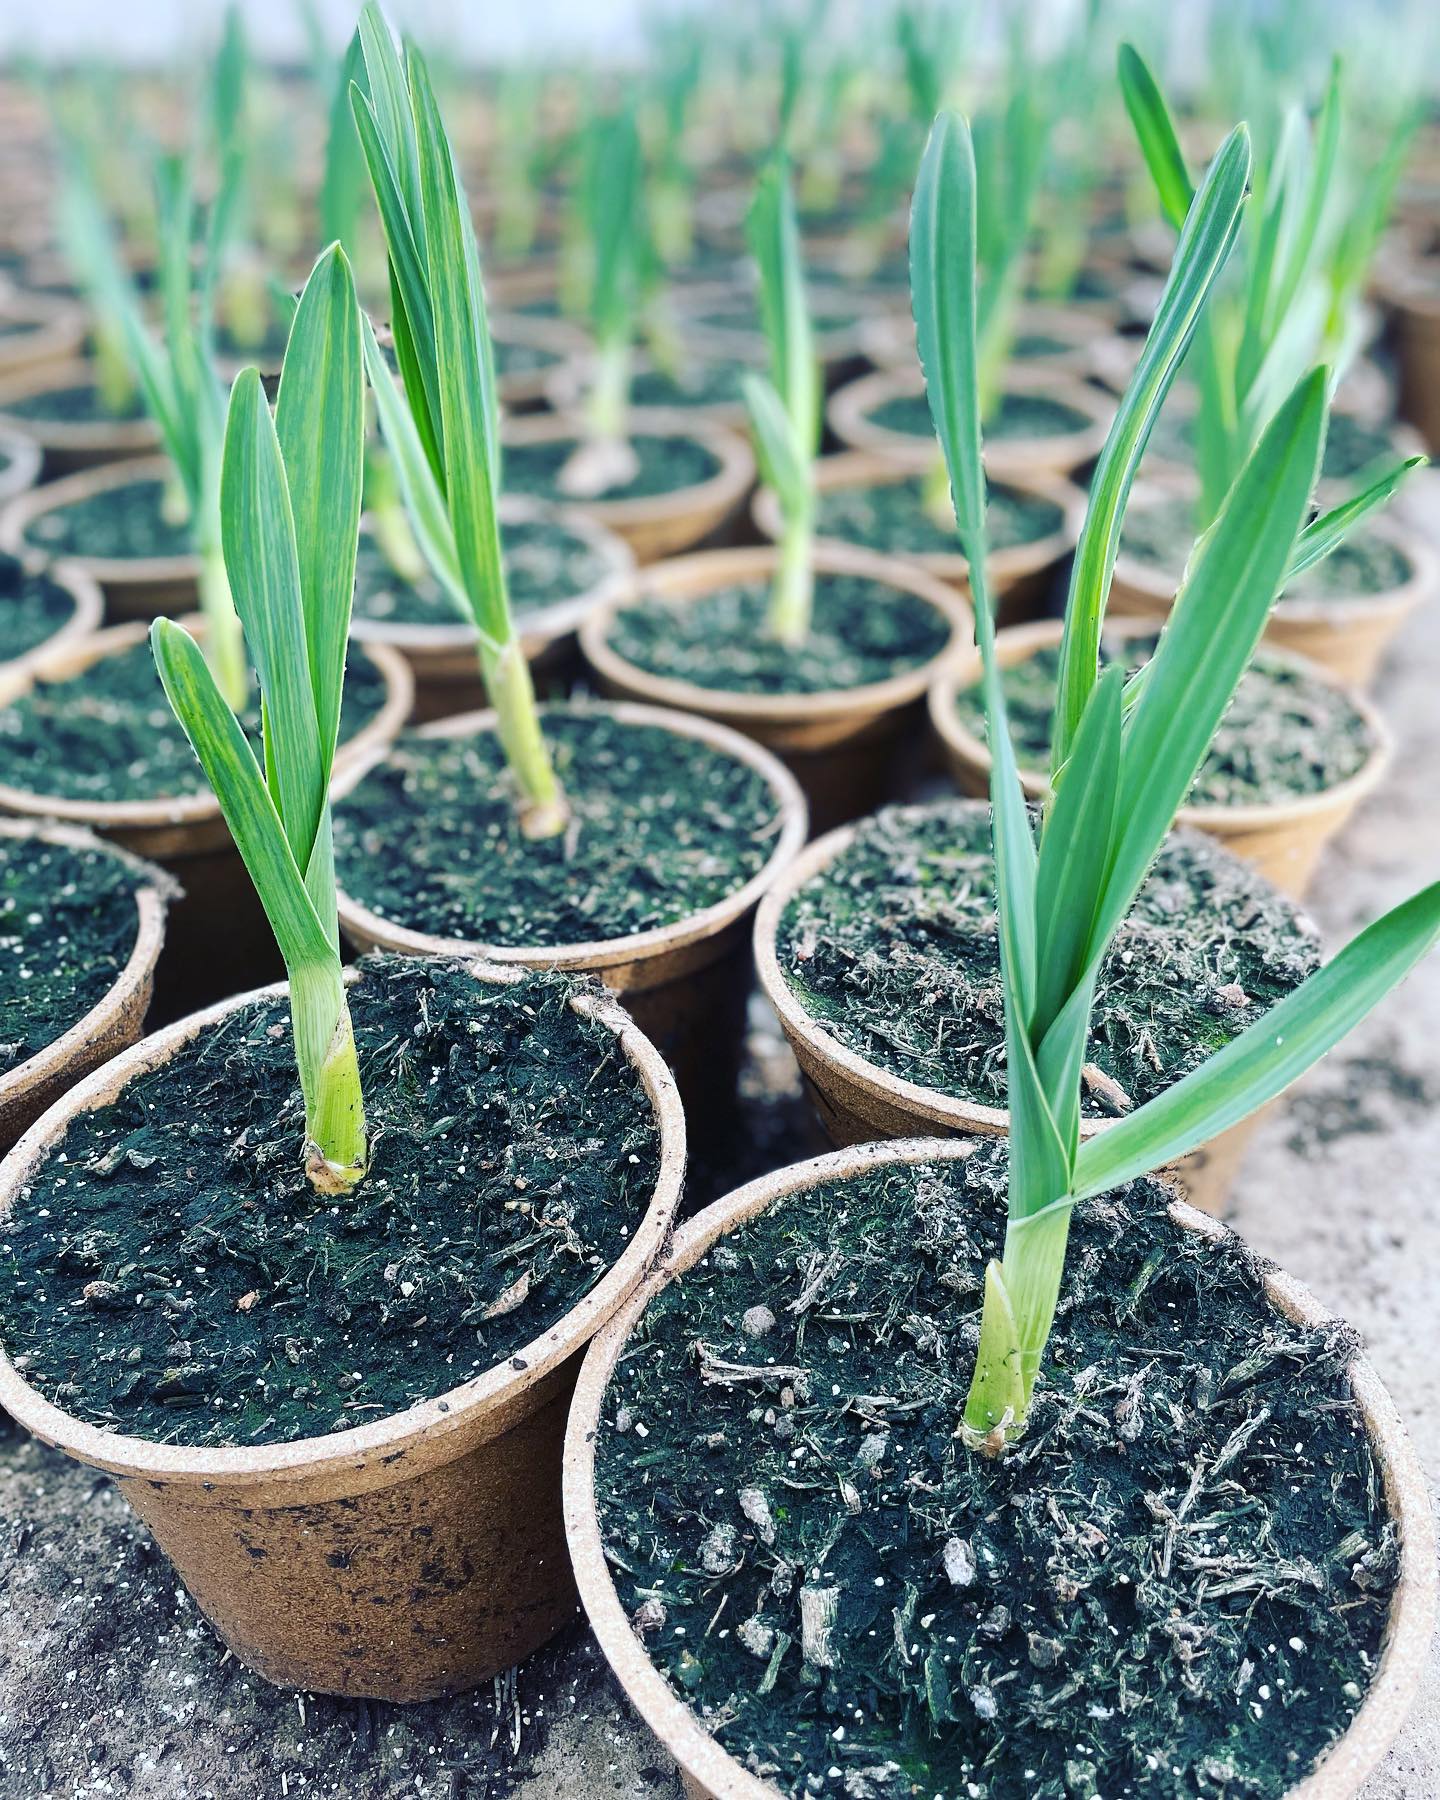
Now comes the moment of truth – planting your garlic cloves! Fill your container with the prepared potting mix, leaving about 3 inches of space from the rim. Separate the large, healthy cloves from your chosen garlic bulb. Gently press each clove, pointed side facing upwards, into the potting mix, ensuring they are spaced roughly 4-6 inches apart. Cover the cloves with about 1 inch of potting mix and water the container thoroughly.
Location, Location, Location – Finding the Perfect Spot for Your Garlic
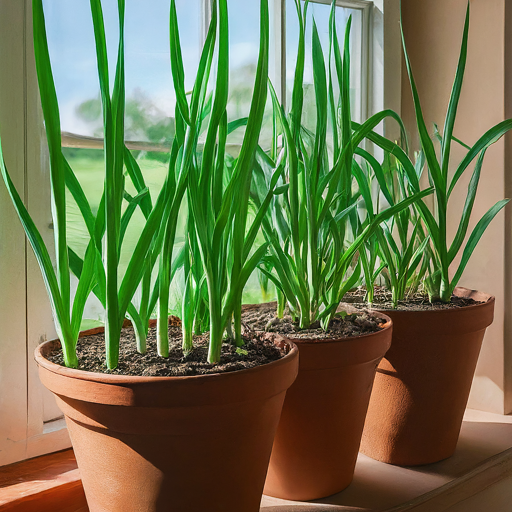
Garlic, much like a sun-worshipping vacationer, craves ample sunlight. Select a location for your garlic container that receives at least 6-8 hours of direct sunlight daily. A south-facing window is ideal, providing your garlic with the necessary sun-kissed warmth for optimal growth.
Nurturing Your Garlic to Garlicky Glory
Watering – Keeping Your Garlic Hydrated but Not Drowned
Garlic thrives in consistently moist soil, but avoid overwatering, which can lead to root rot. The best way to determine watering needs is to stick your finger into the soil. If the top inch of soil feels dry to the touch, it’s time to water. Water deeply until the water drains freely from the holes at the bottom of the container.
Feeding the Fighters – Garlic Fertilization
While not strictly necessary, providing your garlic with a light feeding every 3-4 weeks can boost its growth and overall health. Opt for a balanced organic fertilizer diluted to half strength according to the manufacturer’s instructions.
The Importance of Light – Nature’s Spotlight for Thriving Garlic
During the winter months, when natural daylight dwindles, consider supplementing with grow lights. Aim for 12-14 hours of total light per day to mimic the ideal growing conditions for garlic.
Harvesting the Rewards of Your Labor
Signs Your Garlic is Ready to Tango in the Kitchen
The patience of a garlic gardener is eventually rewarded with a bountiful harvest. The telltale signs that your garlic is ready to be plucked from its pot include yellowing or browning of the lower leaves and the topmost soft foliage starting to drop.
Additionally, the bulb itself should feel firm to the touch, with the papery skins around the individual cloves starting to dry out. This timeframe typically falls between 7-9 months after planting, depending on the variety of garlic you choose.
Reaping the Rewards – How to Harvest Your Homegrown Garlic
When your garlic is ready for harvest, gently loosen the soil around the base of the pot using a trowel or your hands. Carefully lift the plant out of the container. Brush off any excess soil from the bulbs and separate the individual cloves. Don’t discard the hardneck scapes (flower stalks) that some garlic varieties produce in the spring. These scapes are a delicious addition to stir-fries or can be pickled for a tangy treat.
Curing Your Garlic – Unlocking Peak Flavor
To ensure your homegrown garlic boasts the best possible flavor and longevity, it requires a curing process. Find a cool, dry, and well-ventilated location, ideally with temperatures between 60-68°F (15-20°C). Braid the garlic scapes together, if using, and hang the bulbs in this location for 2-4 weeks. Alternatively, spread the bulbs out in a single layer on a mesh screen or breathable container to allow for air circulation.
Beyond the Harvest – Enjoying and Repurposing Your Garlic Bounty
A Culinary Celebration – Savoring Your Homegrown Garlic
The moment you’ve been waiting for has arrived! Incorporate your homegrown garlic into your favorite recipes, from pasta dishes and stir-fries to roasted vegetables and homemade marinades. The robust, fresh flavor of your homegrown garlic will elevate any culinary creation.
Planting the Seeds of the Future – Repurposing Your Garlic Harvest
While you can certainly enjoy the entire harvest, you can also use some of your plumpest cloves to plant the next generation of your indoor garlic crop. Simply follow the same planting procedures outlined earlier. Remember, however, it’s generally recommended to purchase fresh garlic bulbs specifically for planting every other season to maintain optimal vigor and prevent disease.