Imagine your patio transformed into a symphony of color. Lush green foliage plays the bassline, punctuated by bursts of vibrant blooms in shades of pink, red, purple, and white. This isn’t a dream – it’s the reality of growing coral bells (Heuchera) in pots! These low-maintenance perennials are a gardener’s delight, offering year-round interest and a surprising amount of personality for a container plant.
This ultimate guide will equip you with everything you need to cultivate a thriving terracotta symphony on your patio. From choosing the right pot and plant to watering, feeding, and keeping your coral bells happy throughout the seasons, we’ll cover it all.
Unveiling the Allure of Coral Bells
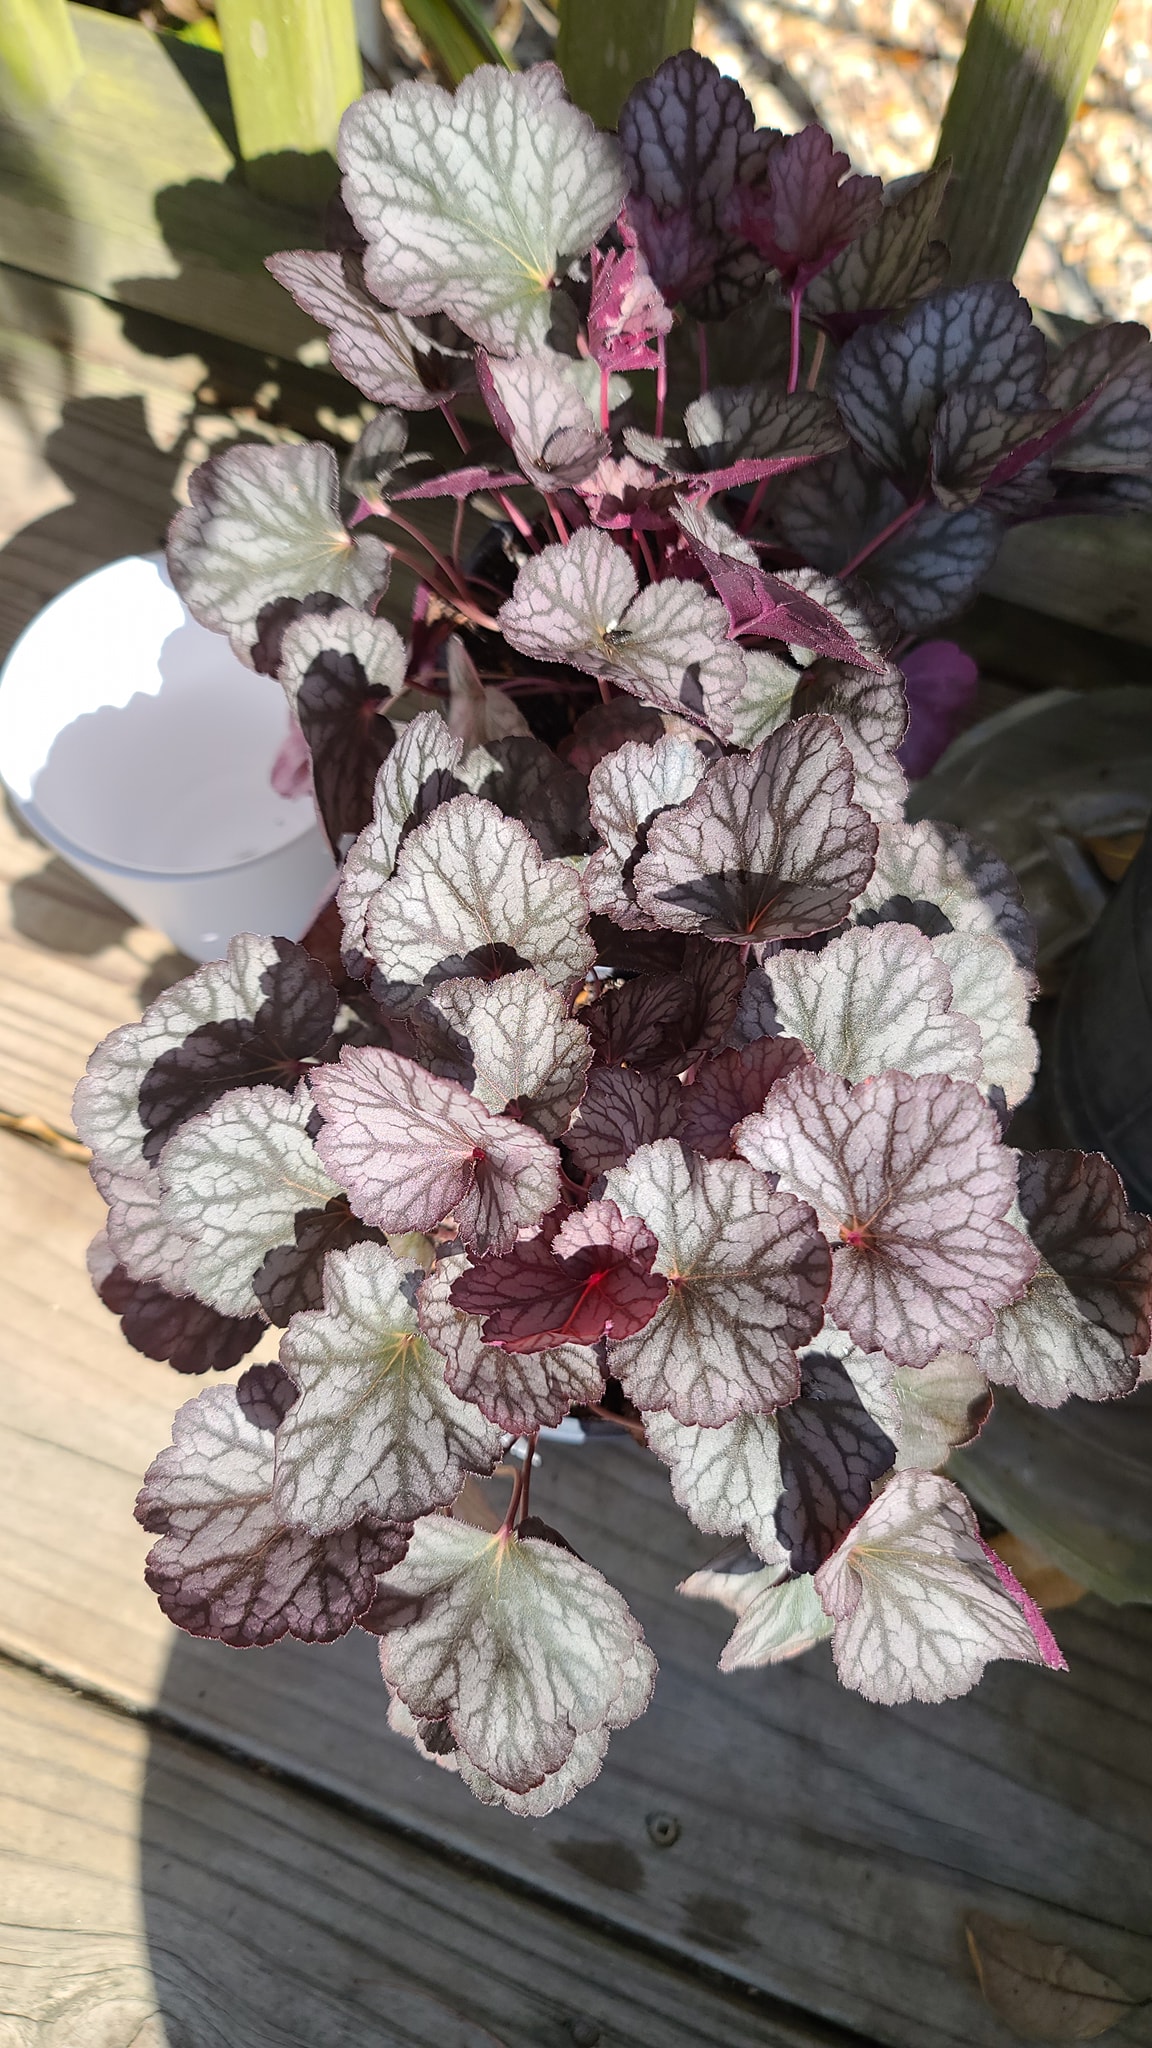
Coral bells, also known as alum root, are a diverse group of shade-loving perennials native to North America. Their true magic lies in their foliage. Unlike many flowering plants, coral bells boast an incredible range of leaf colors, from deep burgundy and lime green to chartreuse and even metallic shades.
These stunning leaves often boast intricate patterns and textures, adding visual interest even when the plant isn’t in bloom. The delicate, bell-shaped flowers that emerge in late spring or early summer add another layer of charm, creating a delightful contrast with the foliage.
But coral bells aren’ t just about aesthetics; they’re remarkably low-maintenance. They’re tolerant of a wide range of soil conditions, resist pests and diseases, and come back year after year with minimal fuss. This makes them perfect for busy gardeners or those new to container gardening.
Selecting the Perfect Instruments: Pots and Plants
Choosing the Right Pot
The foundation of your terracotta symphony starts with the pot. Here are some key considerations:
- Size: Select a pot that’s at least 12 inches in diameter and depth for a single coral bells plant. If you plan to create a mixed container, opt for a larger pot to accommodate additional plants.
- Material: Clay pots are a classic choice, offering good drainage and a natural aesthetic that complements the beauty of coral bells. However, plastic pots are lighter and retain moisture better, which can be beneficial in hot climates.
- Drainage: Excellent drainage is crucial for preventing root rot. Ensure your pot has drainage holes at the bottom.
Finding Your Star Performer: Selecting Coral Bell Varieties
With so many varieties of coral bells to choose from, finding the perfect one for your symphony is part of the fun!
- Consider sun exposure: Most coral bells prefer partial shade, although some tolerate full shade or even a few hours of morning sun. Choose a variety suited to the amount of sunlight your patio receives.
- Leaf color: Do you crave fiery burgundy foliage or perhaps a cool, minty green? The color palette of coral bells is vast, so pick a variety that complements your patio décor.
- Flower color: While the foliage is the main attraction, don’t discount the charm of the blooms. Coral bells come in a range of flower colors, from soft pink and lavender to vibrant red and white.
Here are a few popular varieties to get you started:
- Heuchera ‘Plum Royale’: Deep burgundy foliage with contrasting silvery veins and rose-pink flowers.
- Heuchera ‘Lime Rickey’: Chartreuse green leaves with scalloped edges and white flowers.
- Heuchera ‘Obsidian’: Dramatic near-black foliage with deep purple flowers.
- Heuchera ‘Melting Point’: Variegated foliage with creamy white, silver, and green tones, complemented by pink blooms.
Pro Tip: Visit your local nursery and browse their selection of coral bells. Many nurseries have display gardens where you can see the plants in full bloom, helping you make the perfect choice.
Planting the Seeds of Success: Creating Your Potted Symphony
Now that you have your instruments (pot and plant) selected, it’s time to create your masterpiece!
- Prepare the Pot: If using a new clay pot, soak it in water for a few hours to help prevent it from wicking moisture away from the plant.
- Fill the Pot with Potting Mix: Use a high-quality, well-draining potting mix specifically formulated for container gardens.
- Planting: Carefully remove the coral bells plant from its nursery container. Gently loosen the roots if they appear rootbound. Place the plant in the pot, ensuring the crown (the point where the leaves meet the roots) sits slightly above the soil level.
- Water Thoroughly: Water the plant generously until water drains freely from the bottom of the pot
Caring for Your Coral Bells
Watering Wisely
Coral bells prefer consistently moist soil, but not soggy. Here’s how to strike the right balance:
- Frequency: Water your coral bells deeply when the top inch of soil feels dry to the touch. The frequency will depend on factors like temperature, sunlight, and pot size. Generally, you’ll need to water more often during hot, dry weather and less frequently in cooler periods.
- Signs of Thirst: Wilting leaves are a telltale sign your plant needs a drink. However, don’t wait until the plant becomes completely wilted before watering.
- Avoiding Overwatering: Overwatering is a major threat to coral bells. Ensure your pot has good drainage and avoid letting the plant sit in water.
Feeding for Flourishing Foliage
While coral bells are generally low feeders, a light application of fertilizer can encourage vibrant foliage and blooms.
- Timing: Fertilize your coral bells in early spring before new growth emerges and again in midsummer after the first flush of blooms fades.
- Type: Use a balanced fertilizer formulated for container plants, diluted to half strength according to the package instructions. Organic options like compost tea are also suitable.
Maintaining the Melody: Deadheading and Pruning
A little TLC goes a long way in keeping your coral bells looking their best.
- Deadheading: Remove spent flower stalks as they fade to encourage continued blooming and maintain a tidy appearance. Simply pinch off the flower stalk at its base with your fingers.
- Pruning: Throughout the growing season, you can remove any dead, diseased, or damaged leaves to promote healthy growth. In late fall or early spring, you can also perform a more substantial pruning by cutting back the entire plant by about half.
Winter’s Song: Protecting Your Coral Bells
While coral bells are generally cold-hardy, a little extra protection might be necessary in colder climates.
- Mulching: Apply a layer of mulch (such as shredded leaves or bark) around the base of the plant in late fall after the first frost. This will help insulate the roots and protect them from freezing temperatures.
- Container Care: In very cold regions, consider moving your potted coral bells to a sheltered location like a garage or unheated shed during the winter. However, ensure they receive some natural light and occasional watering if the soil feels dry.
The Enduring Symphony: Enjoying Your Coral Bells for Years to Come
With proper care, your coral bells can grace your patio for years to come. They’re surprisingly long-lived perennials, often lasting for five to ten years or even longer. Here are some tips for extended enjoyment:
- Dividing: Every few years, you can divide your coral bells to create new plants. This is a great way to share the beauty with friends and family.
- Repotting: As your coral bells mature, they may outgrow their current pot. Repot them every two to three years into a slightly larger container with fresh potting mix.
- Seasonal Interest: Don’t forget the magic of coral bells in fall! Many varieties boast stunning foliage color changes, with leaves turning shades of red, orange, and bronze. This adds another dimension of beauty to your patio long after the summer blooms have faded.