Petunias are cheerful trumpet-shaped flowers that cascade over window boxes and fill hanging baskets with vibrant color. But did you know you can cultivate this floral magic from mere specks – petunia seeds? It’s surprisingly simple, and the reward is a season overflowing with blooms you nurtured from scratch. So, grab your gardening gloves and a sense of wonder – get ready to learn how you can grow stunning petunias from seed!
This post may have affiliate links. This means that sometimes when you click a link on our site and make a purchase on Amazon, we may earn a small commission at no additional cost to you. We only recommend products we truly believe in, and your support helps keep us running!
Seed Selection and Timing
Before we get our hands dirty, a little planning goes a long way. Here’s what you’ll need to consider:
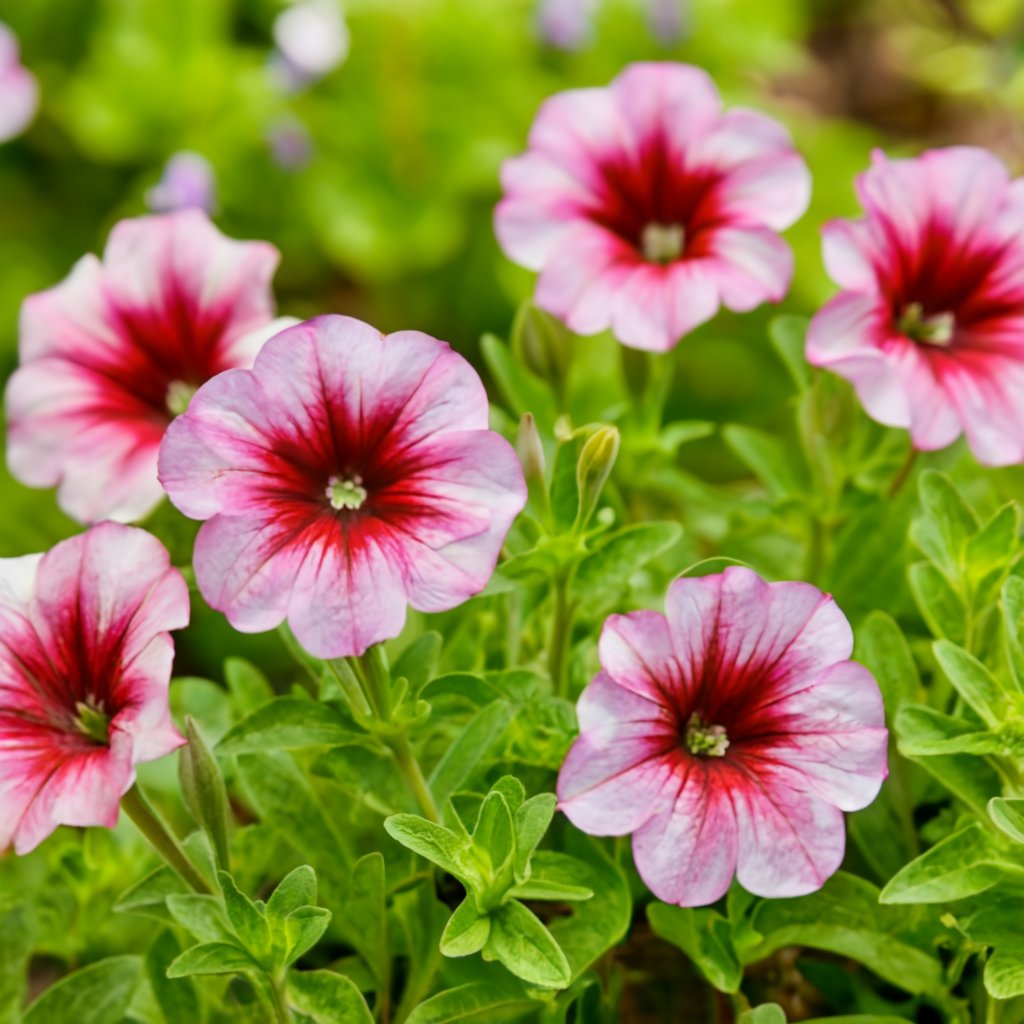
- Seed Selection: Petunias come in a dazzling array of colors, from classic pinks and purples to bi-colored wonders and even ruffled varieties. Explore seed catalogs or visit your local nursery to find the perfect match for your garden theme.
- Timing is Key: Petunias are warm-season flowers, so starting seeds indoors before the last frost is crucial. Ideally, aim to sow them 8-10 weeks before that date. Look up your specific frost date to ensure a smooth transition outdoors later.
Preparing the Perfect Cradle for Life
Now that you have your seeds and the timing is right, it’s time to create a cozy haven for your future petunias. Here’s what you’ll need:
- Seed Starting Trays or Pots: Shallow containers with drainage holes are ideal. Recycled plastic takeout containers with drainage holes poked can work in a pinch!
- Seed Starting Mix: This lightweight, well-draining soil mix provides the perfect environment for delicate seedlings to sprout. Avoid using garden soil, as it can be dense and harbor unwanted pests.
- Water Spray Bottle: A gentle mist is crucial for keeping the soil moist without disturbing the tiny seeds.
Seeding Like a Pro :
- Fill your trays or pots with the seed starting mix, leaving a little space at the top.
- Moisten the mix thoroughly with the spray bottle until it’s damp but not soggy.
- Here comes the tricky part: petunia seeds are tiny! To avoid overcrowding, use a toothpick or tweezers to gently sprinkle a few seeds on the soil surface. A good rule of thumb is 2-3 seeds per cell in a tray, or 3-5 seeds per pot.
- Don’t bury the seeds! Petunias need light to germinate. Gently press them into the soil with your fingertip to ensure good contact.
- Clear plastic wrap or a humidity dome can be placed over the trays to create a mini greenhouse effect, trapping moisture and warmth.
Finding the Light:
Place your seed trays in a warm location (around 70-75°F) with bright, indirect sunlight. A sunny windowsill is perfect, but avoid the harsh afternoon sun that can dry out the soil.
Sprouting with Joy:
Be patient, little gardener! Germination can take anywhere from 10 to 25 days. Once you see those first green shoots emerge, it’s time to celebrate! Remove the plastic wrap (if used) to allow for proper air circulation.
Nurturing Your Seedlings: Sunshine, Water, and a Gentle Touch
Your tiny petunia heroes are on their way, but they still need some TLC to thrive. Here’s how to care for them:
- Light, glorious light: As the seedlings grow, provide them with at least 12 hours of bright, indirect sunlight daily. If natural light is limited, consider using grow lights positioned a few inches above the plants. Adjust the height as your petunias grow taller.
- Watering Wisely: Overwatering is the enemy of young seedlings. Aim to keep the soil consistently moist, but not soggy. Use your spray bottle or a watering can with a gentle hose attachment to deliver water directly to the soil.
- Feeding Time (lightly): Once your seedlings have developed their first set of true leaves (those larger leaves that appear after the initial cotyledons), you can introduce a diluted liquid fertilizer formulated for seedlings. Follow the package instructions for appropriate dilution and frequency.
Strengthening for the Big Move: The Hardening Off Process
Before transplanting your petunias outdoors, they need to adjust to harsher conditions. This process, called hardening off, allows them to acclimate to wind, sunlight, and temperature fluctuations.
- Start by taking your seedlings outdoors on warm, sheltered days for short periods. Gradually increase the duration of their outdoor exposure over a week to 10 days.
Bring them back indoors overnight or during cold snaps. This gradual exposure helps them build resilience for life in the great outdoors.
Choosing a Home for Your Petunias
Once the danger of frost has passed and your petunias are hardened off, it’s time to choose their forever home! Here’s what to consider:
- Sunshine Supreme: Petunias crave at least 6-8 hours of direct sunlight daily for optimal flowering. So, pick a sunny spot in your garden, balcony, or patio.
- Potting Up for Patio Perfection: Hanging baskets, window boxes, and container gardens are ideal for petunias. Choose pots with drainage holes to prevent waterlogging. Opt for larger containers (at least 8-10 inches in diameter) for better root development and longer-lasting blooms.
- Soil Secrets: Fill your containers with a high-quality, well-draining potting mix. Amending your mix with a slow-release fertilizer can provide extra nutrients throughout the growing season.
Transplanting with Tender Care:
- Prepare your pots with the chosen potting mix. Make sure the soil level is about an inch below the rim to allow for watering.
- Gently water your petunia seedlings in their trays a few hours before transplanting. This makes them easier to remove without disturbing the roots.
- Using a spoon or trowel, carefully lift each seedling by its base. Avoid pulling on the delicate stem.
- Dig a hole in the potting mix slightly larger than the root ball of your seedling.
- Place the seedling in the hole and gently fill the space around it with soil, firming it slightly.
- Water your newly transplanted petunias thoroughly to help settle the soil.
The Joys of Bloom and Beyond: Caring for Your Thriving Petunias
Congratulations! You’ve successfully nurtured your petunias from tiny seeds to flourishing plants. Here are some tips to keep them blooming all season long:
- Watering: Water your petunias regularly, especially during hot and dry periods. Aim to keep the soil moist but not soggy.
- Deadheading Delights: Regularly removing spent flowers (deadheading) encourages your petunias to produce even more blooms. Simply pinch or snip off the faded flower head just below the calyx (the green base).
- Feeding Frenzy: Throughout the blooming season, continue feeding your petunias with a diluted liquid fertilizer every two to four weeks. Follow the product’s instructions for proper dilution and frequency.
- A Snip Here, a Snip There: Don’t be afraid to give your petunias a light trim throughout the season. This encourages bushier growth and promotes more flowers. You can also use the trimmings to propagate new petunias!
Bonus Tip: Petunia Power in Winter
While petunias are typically treated as annuals, you can try overwintering them in mild climates. Here’s how:
- Before the first frost: Bring your petunias indoors to a sunny location. Reduce watering and stop fertilizing.
- Prune them back by about half to encourage new growth.
- Monitor them throughout winter: Water sparingly when the soil feels dry to the touch.
- Come spring: Gradually increase watering and introduce diluted fertilizer again. With proper care, you might be surprised to see your petunias reward you with blooms even in the colder months!